How to Maintain Hardwood Decking for Long-Lasting Performance?
Your hardwood deck is not a static piece of outdoor furniture. It is a biological entity that has been “paused” in its lifecycle. When we harvest a tree to create blackbutt decking, we are taking a material that spent decades managing moisture, resisting ultraviolet radiation, and fighting off fungal pathogens in the wild. Once that timber is milled and laid in your backyard, it doesn’t stop interacting with the world; it simply loses the tree’s natural ability to self-repair.
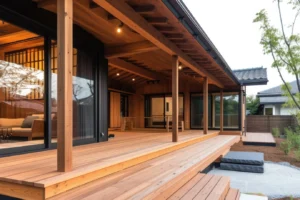
In the design climate of 2026, where the “Outdoor Room” has become the primary social hub of the Australian home, maintaining this structure is no longer about a quick splash of oil every few years. It is about understanding the physics of cellular decay and intervening with precision.
This is your comprehensive almanac for ensuring that your investment-whether it is a classic blackbutt timber deck or a sprawling Spotted Gum expanse- remains structurally sound and aesthetically breathtaking for decades.
Part I: The Physics of the Plank – Why Wood “Moves”
To maintain a deck, you must first understand the relationship between timber and the atmosphere. Wood is hygroscopic; its cells act like microscopic sponges.
The most critical metric in deck health is the Moisture Content (MC). When the MC of your blackbutt decking timber fluctuates rapidly, the physical dimensions of the wood change. We calculate the percentage of moisture in wood using the following relationship:
$$MC\% = \frac{W_{wet} – W {dry}}{W_{dry}} \times 100$$
Where $W {wet}$ is the weight of the timber with moisture and $W_{dry}$ is the oven-dry weight.
In a typical Australian summer, the surface of your blackbutt timber decking might reach temperatures of 65°C, driving moisture out of the top layer of the wood while the underside (facing the damp earth) remains hydrated. This differential drying is the primary cause of cupping, where the edges of the board curve upward. Maintenance is essentially the art of regulating this moisture exchange.
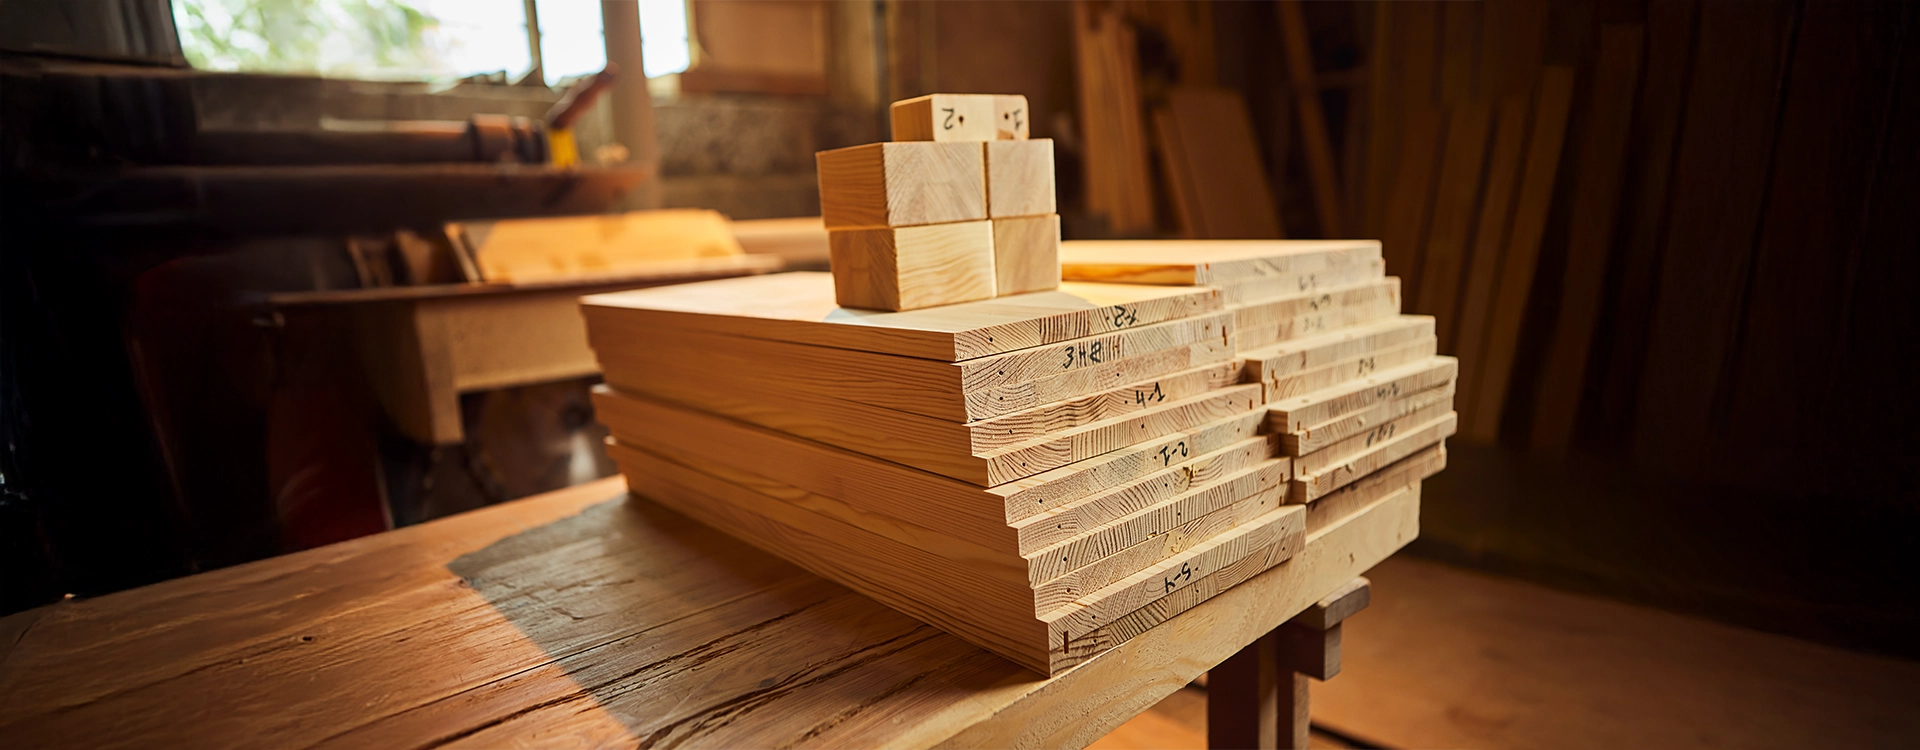
Part II: The First 100 Days – The “Seasoning” Phase
The most common mistake homeowners make happens in the first three months. You’ve just installed a stunning new blackbutt deck, and your instinct is to seal it immediately to lock in that pale, honey-blonde glow.
Stop. Most hardwoods are green or only partially seasoned when they arrive. They are saturated with natural tannins and oils. If you seal the wood too early, you trap these tannins inside, which can lead to internal rot or a blotchy finish as the oils try to escape through the coating.
The Leaching Process
For a new blackbutt timber deck, we recommend a weathering period of 4 to 6 weeks.
- The Rain Ritual: Allow the timber to be rained on (or hose it down daily). This opens the pores and leaches out excess tannins.
- The Tannin Test: You will notice dark, tea-like stains running off the wood. This is normal. Once the water running off the deck is clear, the timber is ready for its first professional cleaning and sealing.
Part III: The Cleaning Ritual – More Than Just a Sweep
In 2026, we have moved away from high-pressure power washing. Why? Because high-pressure water (anything over 1500 PSI) can fuzz the grain of blackbutt decking, tearing the wood fibres and creating a sandpaper-like texture that traps even more dirt.
The Chemical Symphony
A deep clean should happen every 12 to 18 months. You aren’t just removing dirt; you are performing a chemical reset of the wood’s pH balance.
- The Alkaline Wash: Use a sodium percarbonate-based cleaner. This breaks down the grey, oxidised wood fibres (the “silvering”) and kills mold spores deep within the grain.
- The Acidic Neutralizer: After the alkaline wash, the wood will look dark and “angry.” Apply an oxalic acid-based “deck brightener.” This neutralises the pH and acts as a bleaching agent for the iron stains and tannins, returning your blackbutt decking timber to its original golden hue.
Part IV: The Science of Sealing – Oil vs. Water
When it comes to protecting blackbutt timber decking, the market is split into two technological camps. Your choice here determines your maintenance schedule for the next decade.
1. Penetrating Oils (The Traditionalist)
These oils (often linseed or tung oil-based) soak into the wood fibres to replace the natural resins lost to the sun.
- Pros: They never peel or flake. They feel natural underfoot.
- Cons: They have a lower melting point. In the Australian sun, they can “cook,” requiring a re-coat every 6 to 12 months.
2. Water-Based Acrylates (The Modernist)
Modern hybrid coatings use water as a carrier for acrylic resins that sit both in and on the wood.
- Pros: Exceptional UV resistance. In 2026, high-end water-based tints can last 18–24 months before needing a top coat.
- Cons: If the deck is neglected and the coating cracks, moisture can get trapped underneath, leading to localised rot.
Pro Tip: For a blackbutt timber deck, always choose a finish with a “Yellow/Straw” pigment. Clear coatings offer zero UV protection; it is the pigment (the colour) that acts as the “sunscreen” for your wood.
Part V: Species Spotlight – The Maintenance Needs of Blackbutt
Why is blackbutt decking so popular, yet so specific in its needs? Blackbutt is a Class 1 durability timber, but it has a unique cellular structure compared to Jarrah or Spotted Gum.
- Tannin Bleed: Blackbutt has a relatively high tannin content. If you live in a coastal area with high humidity, you may notice black spots appearing on your blackbutt deck. These are often not mold, but a reaction between the wood’s tannins and microscopic iron particles in the air.
- Surface Checking: Because Blackbutt is a denser hardwood, it is prone to checking small surface cracks that appear as the wood dries. Regular oiling is non-negotiable for this species to maintain its structural flexibility.
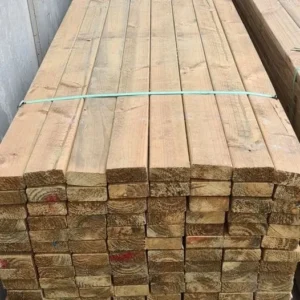
- End-Grain Protection: The most vulnerable part of your blackbutt decking timber is the ends of the boards. 20% of all moisture absorption happens through the end grain. When maintaining your deck, ensure you apply a liberal amount of “End Grain Sealer” or wax to the cut ends to prevent splitting.
Part VI: The Seasonal Checklist
Maintenance is a cyclical habit, not a one-off event. Follow this 2026 Smart Deck schedule:
Autumn: The Debris Sweep
Leaves and organic matter trapped in the gaps between your blackbutt timber decking boards hold moisture against the joists. Use a thin putty knife or a specialised gap clearer to ensure airflow. Airflow is the enemy of rot.
Winter: The Moisture Check
Look for pooling. Your coating is still intact if water remains on your blackbutt deck for longer than half an hour without soaking in or evaporating. You have a thirsty deck that requires a winter oiling if it soaks in right away.
Spring: The Inspection
Inspect the fixings. Hidden clip systems are used on a lot of decks in 2026. In areas where the wood has grown and moved the clips, look for board creep. If your screws are traditional, look for popping, which can be a trip hazard and occurs when the screw head rises above the board.
Summer: The UV Shield
If you have a north-facing blackbutt timber deck, it is taking a beating. Consider using a UV-Revive spray a lightweight, mist-on protector that can be applied between major oiling sessions to keep the top layer hydrated.
Part VII: Troubleshooting Common Failures
My deck is turning black. Is it ruined?
Not necessarily. Blackening is usually one of two things:
- Mold/Algae: Common in shaded, damp areas. Treat with a 3:1 water-to-white-vinegar solution or a commercial mold killer.
- Iron Tannate Reaction: If you used a wire brush or steel wool on your blackbutt decking, you’ve left iron particles behind. You will need an oxalic acid wash to “dissolve” the black staining.
The boards are cupping. Can I screw them back down?
If your blackbutt decking timber is cupping, it is a moisture imbalance. Screwing it down tighter often results in the screw head pulling through the board or the board splitting. The solution is usually to improve under-deck ventilation or to sand the “peaks” of the cups once the moisture levels have stabilized.
The Legacy of the Timber
A well-maintained blackbutt deck is a 40-year asset. By treating the wood as a dynamic material that requires hydration, pH balancing, and UV protection, you transition from being a “homeowner with a chore” to a “steward of a natural resource.”
The goal of maintenance is not perfection; it is resilience. A deck that is cleaned, neutralized, and oiled according to the biological blueprint will not only survive the Australian climate but will age with a grace and patina that synthetic materials can never replicate.
Frequently Asked Questions (FAQ)
1. How often should I really oil my blackbutt decking?
In the harsh Australian sun, we recommend a maintenance coat every 12 months for north-facing decks and every 18–24 months for shaded or south-facing decks. Don’t wait for the wood to turn grey; oil it when the color begins to look “flat” or dull.
2. Can I use a pressure washer on my blackbutt timber deck?
We advise extreme caution. If you must use one, keep it on a low setting and keep the nozzle at least 30cm away from the wood. Never use a “turbo head” or rotating nozzle, as these will permanently scar the blackbutt timber decking.
3. Why is my blackbutt timber decking bleeding onto my concrete?
This is caused by water-soluble tannins. To prevent this, ensure your deck is properly leached before sealing. If staining has already occurred, you can usually remove the brown marks from your concrete using a specialized Tannin Remover or a diluted phosphoric acid solution.
4. Is water-based or oil-based better for a blackbutt deck?
For blackbutt decking timber, water-based hybrid oils are becoming the 2026 standard. They offer better UV protection and don’t darken the wood as much as traditional oils, allowing the natural blonde tones of the Blackbutt to shine through.
5. What happens if I forget to maintain my deck for a few years?
Don’t panic. Hardwoods like Blackbutt are forgiving. You will likely need to perform a deep restoration, which involves a heavy mechanical sand followed by a full chemical clean and re-sealing. It’s more work, but the wood underneath is almost always still healthy.