The Forensic Guide to Timber Stability: Defeating the Warp and the Crack
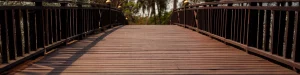
In the architectural world of 2026, we no longer view a hardwood deck as a static platform. We view it as a high-stakes engineering project involving a living organic polymer. When you invest in a premium ironbark deck, you aren’t just buying wood; you are engaging in a long-term negotiation with the laws of thermodynamics and fluid dynamics.
Timber is essentially a bundle of microscopic straws held together by a natural glue. Warping and cracking are the physical manifestations of these straws reacting unevenly to their environment. If you want a deck that remains as flat and flawless as the day it was milled, you must understand the Forensics of Failure and implement a prevention protocol that starts before the first board is even delivered.
Phase I: The Physics of Structural Failure
To prevent warping, we must first define it. In the timber industry, we categorise warp into four distinct mechanical failures: Cupping, Bowing, Twisting, and Crooking.
The primary driver behind these movements is the Equilibrium Moisture Content (EMC). Timber constantly seeks to balance its internal moisture with the surrounding humidity. We calculate the Moisture Content ($MC$) using the standard ratio:
$$MC\% = \frac{Weight_{wet} – Weight_{dry}}{Weight_{dry}} \times 100$$
When the top of an ironbark decking board is baked by the Australian sun while the underside is exposed to damp, cool air from the sub-floor, a moisture gradient is created. The bottom fibres expand, the top fibers shrink, and the result is a cup. If the internal stress exceeds the wood’s natural tensile strength, the fibers tear apart, resulting in a crack or check.
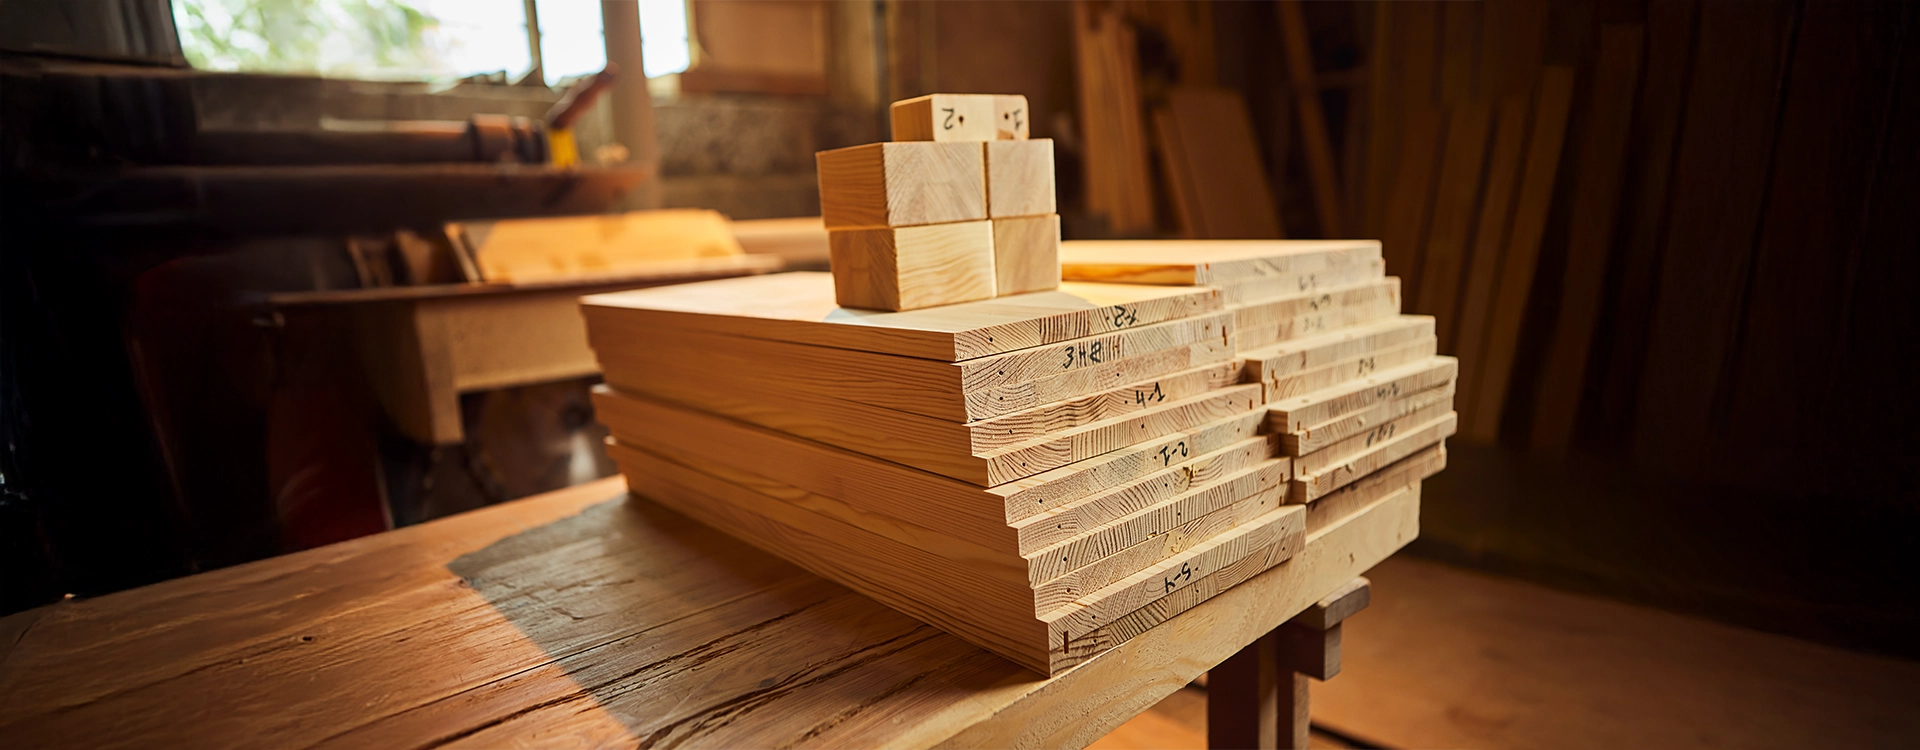
Phase II: Material Selection – The Ironbark Fortress
Prevention begins with selection. If your environment is particularly harsh, you need a species with the highest possible density and lowest tangential shrinkage. This is why red ironbark decking has become the gold standard for high-performance Australian outdoor spaces.
Why Red Ironbark?
Red Ironbark (Eucalyptus sideroxylon) is one of the densest timbers on the planet. On the Janka Hardness Scale-which measures the force required to embed a $11.28\text{mm}$ steel ball into the wood-Red Ironbark sits at a staggering $14.0\text{kN}$.
Because ironbark decking is so dense, the “straws” are packed incredibly tight. This makes it much harder for moisture to penetrate the cellular structure, significantly reducing the rate of expansion and contraction. It is the ultimate “low-movement” timber.
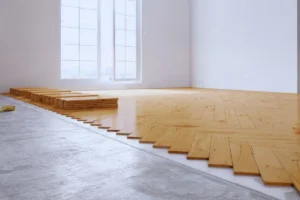
Phase III: The Sub-Floor Protocol
You can buy the finest red ironbark decking in the world, but if you install it over a damp, unventilated void, it willwarp. This is the Sauna Effect.
The 300mm Rule
In 2026, Australian building standards emphasize sub-deck clearance. For a stable ironbark deck, you should aim for a minimum of $300\text{mm}$ of unobstructed clearance between the soil and the bottom of the joists.
Cross-Flow Engineering
Ventilation must be active, not passive. Ensure that your deck design allows for cross-flow. If your deck is enclosed by a solid fascia or sits between three walls, moisture will become trapped. Use decorative screening or “spaced” fascia boards to ensure air can move beneath the structure. If the air under the deck is as dry as the air above it, the moisture gradient disappears, and cupping is prevented.
Phase IV: Installation Precision – The $5\text{mm}$ Margin
When installing red ironbark decking, your fixings and your spacing are your primary defense against twisting and bowing.
1. The Gap is Non-Negotiable
Timber needs room to breathe. For standard $90\text{mm}$ or $140\text{mm}$ boards, a gap of $5\text{mm}$ is mandatory. This gap serves two purposes:
- It allows for lateral expansion during high-humidity events.
- It facilitates vertical airflow, helping the underside of the boards dry at the same rate as the top.
2. Pre-Drilling: The Anti-Crack Solution
Because ironbark decking is so hard, it is brittle under the force of a screw. If you attempt to drive a 10-gauge screw into Red Ironbark without a pilot hole, you will create cleavage in the wood fibers. This creates a micro-crack that the sun will eventually widen into a major split.
Protocol: Always use a countersinking drill bit. The pilot hole should be roughly $80\%$ of the screw’s shank diameter.
3. Fixing Selection
Use 12-gauge 316-grade stainless steel screws for red ironbark decking. Stainless steel has the ductility to flex slightly as the timber moves, whereas cheaper galvanized screws can snap under the immense pressure of a moving Ironbark plank.
Phase V: The Chemical Shield – Sealing and Oiling
Once the deck is built, you must apply a chemical barrier to slow down the rate of moisture exchange.
The End-Grain Secret
The ends of your boards are the open ends of the straws. They absorb moisture 20 times faster than the face of the board. This is where $90\%$ of cracks begin.
The Solution: Apply a dedicated End Grain Sealer to every cut end before installation. This plugs the straws and prevents the ends from drying out faster than the center, stopping end-splits in their tracks.
High-Solid Oils
For a red ironbark deck, choose a high-solid, penetrating oil. Avoid film-forming coatings like varnishes or paints. In the Australian sun, film-formers will eventually crack. Once the coating cracks, water gets trapped underneath, creating a rot-pocket. Penetrating oils sit inside the fibers, allowing the wood to “breathe” while repelling liquid water.
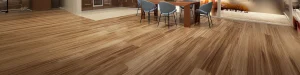
Phase VI: Indoor/Outdoor Synergy
The resilience of this species has led to a massive surge in red ironbark flooring for interior spaces. If you are running an indoor-outdoor design where your interior floor flows directly onto your deck, using Red Ironbark ensures a consistent aesthetic.
However, remember that red ironbark flooring is kiln-dried to a much lower $MC$ (typically $8\%-12\%$) than decking timber. If you are transitioning from indoors to outdoors, ensure the deck is properly seasoned to prevent the two surfaces from moving at different rates and creating a “lip” at the threshold.
The Maintenance Habit
A deck is an investment in controlled decay. To prevent warping and cracking over the long term, you must commit to an annual inspection.
- Check the gaps: Clear out debris that prevents airflow.
- Inspect the fixings: Re-tighten any screws that have popped due to seasonal movement.
- The Water Test: If water no longer beads on the surface of your ironbark decking, it is time to re-oil.
By selecting the right species, engineering the airflow, and sealing the end-grain, you turn a high-maintenance headache into a generational asset.
Frequently Asked Questions (FAQ)
- Despite having oiled my Red Ironbark decking, why is it checking?
High-density hardwoods frequently have surface checking, or tiny hairline cracks. Rather than being structural, it is frequently aesthetic. When the topmost layer of cells dries more quickly than the core, it occurs. Frequent oiling with a tinted finish minimises the appearance of these checks by keeping the surface fibers hydrated and reflecting UV rays.
- Can I install an ironbark deck directly over a concrete slab?
This is high-risk. If you must do it, you need to use a “batten system” to create an air gap of at least $50\text{mm}$ to $100\text{mm}$ between the concrete and the ironbark decking. Without this gap, the concrete will trap moisture against the bottom of the boards, causing them to cup severely.
- Red Ironbark flooring require the same maintenance as the deck?
No. Because red ironbark flooring is in a climate-controlled environment, it is much more stable. However, it should still be sealed with a high-quality polyurethane or hard-wax oil to protect it from spills and to maintain its deep, burgundy-red luster.
- How do I fix a board that has already cupped?
If the cup is minor, you can sometimes reverse it by improving the ventilation underneath and keeping the top of the board hydrated. In extreme cases, the only solution is to sand the deck flat and then immediately apply a high-quality sealer to prevent it from happening again.
- What is the best time of year to install a new ironbark deck?
In Australia, Autumn or Spring is ideal. Installing in the peak of Summer can cause the timber to dry too quickly, leading to “shock” and cracking. Installing in the dead of Winter can lead to the timber expanding too much once the sun finally hits it. Mid-range temperatures allow the ironbark decking to “season” at a natural, steady pace.