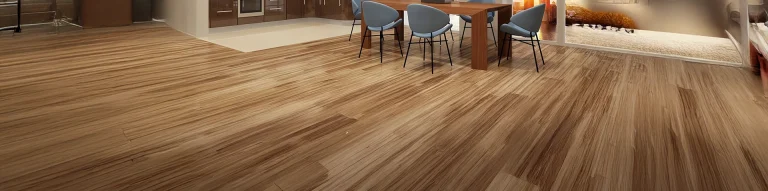
There is an undeniable romanticism attached to installing authentic timber underfoot in a Melbourne home. Whether you are updating a double-fronted Victorian terrace in Albert Park, modernising a mid-century gem in Blackburn, or finishing a sleek architectural extension in Brunswick, a premium wood floor serves as the structural and aesthetic anchor of the entire property. It bridges the gap between raw nature and refined urban living.
Yet, despite our collective love affair with real timber, the path to a flawless finish is riddled with hidden structural traps.
Melbourne’s unique environmental personality characterised by dramatic, single-day weather shifts, shifting clay foundations, and distinct seasonal humidity swings makes it a challenging landscape for dynamic building materials. Timber breathes, moves, expands, and contracts in a continuous dialogue with its micro-climate. When homeowners treat a premium timber project with the casual indifference of installing plastic laminate, structural and financial issues inevitably follow.
To ensure your investment remains flat, silent, and visually stunning for a lifetime, we must look past showroom sales pitches and expose the most frequent, costly, and disruptive flooring mistakes made across the standard suburban landscape.
Pitfall 1: Failing to Sync with Melbourne’s Four-Seasons-in-One-Day Microclimate
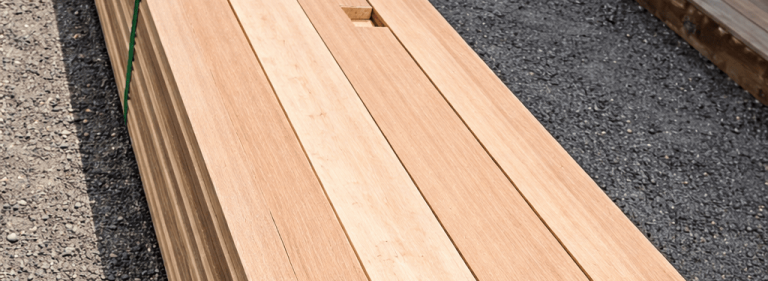
The absolute cardinal sin of local floor building happens before a single plank is ever mechanically fastened to the ground. It is the failure to properly acclimate the wood to the specific room environment where it will live.
When a batch of premium hardwood flooring is safely dispatched from a regional mill or warehouse, it carries an internal moisture content designed for general storage baselines. However, the air inside a home in coastal St Kilda during a damp winter is completely different from the dry heat of an uninsulated living room in dusty Werner Valley during a January heatwave.
If raw timber boards are taken straight from a delivery truck and nailed down instantly, they are essentially a ticking clock. As the timber struggles to adapt to your home’s active heating and cooling systems, its internal moisture content shifts rapidly.
If the wood dries out too fast, the planks shrink, creating unsightly gaps that collect dirt and debris. If it absorbs excess ambient moisture, the boards swell, crowd each other, and lift away from the floor a destructive failure known as crowning.
The Professional Fix
A certified local team will never rush the timber straight from the truck to the nail gun. The delivery bundles must be completely unstrapped and stacked loosely inside the destination room for at least 48 to 72 hours. This open-air window allows the hardwood floor wood boards to slowly reach a safe equilibrium moisture content with your home’s unique atmosphere before they are locked into position.
Pitfall 2: Concrete Subfloor Short-Sightedness and Moisture Blindness
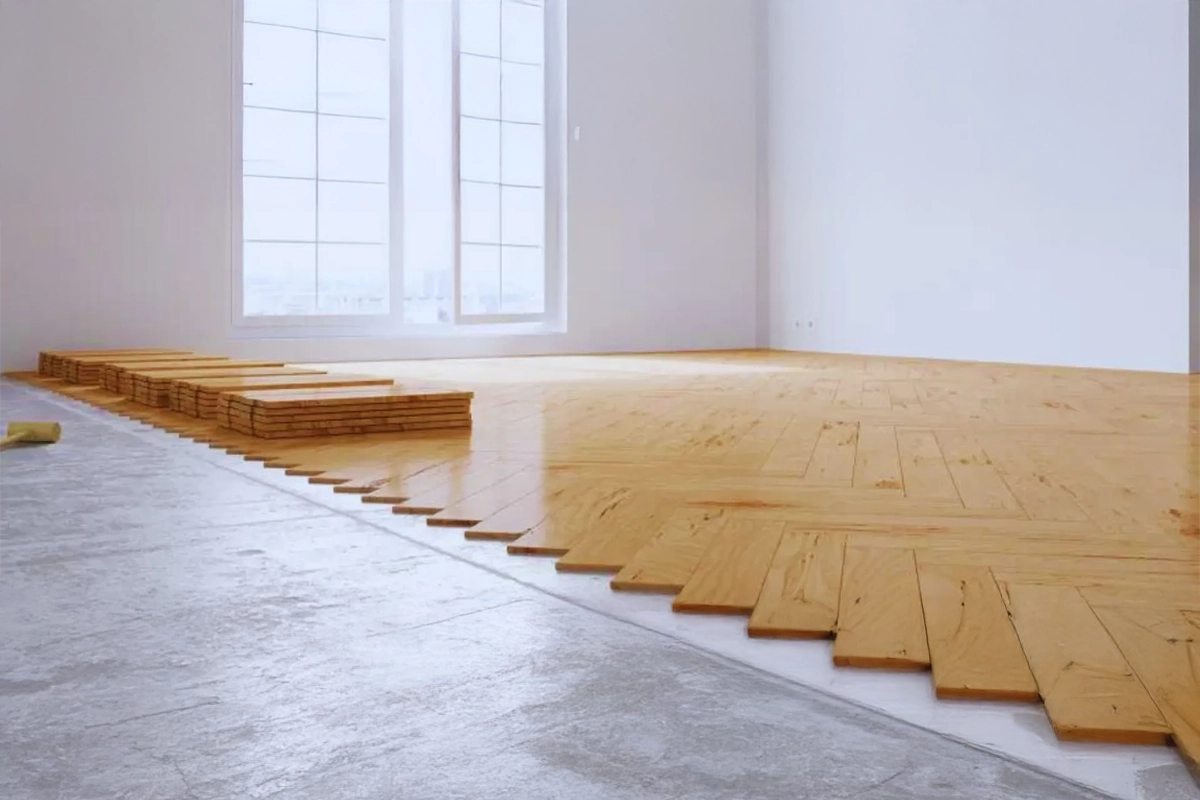
Many homeowners fall into the trap of thinking that if a concrete foundation slab feels solid, cold and dry to the touch, it is ready for an immediate timber layout. This assumption is a major cause of large floor failures in modern extensions.
Newly poured concrete slabs have thousands of litres of structural water, which can take several months to evaporate safely. Older concrete foundations poured through Melbourne’s shifting reactive clay soils often suck up ground moisture like a sponge by capillary action.
If you lay a direct-stick hardwood and flooring matrix straight over raw concrete without conducting proper technical tests, the rising water vapor becomes permanently trapped directly beneath the wood.
The bottom face of your timber planks will soak up this trapped moisture while the top face remains exposed to open room air. This extreme structural imbalance across the board’s profile forces the edges to curl upward, transforming your premium flat floor into an uneven wave pool.
The Professional Fix
Before specifying any high-end hardwood flooring, your contractor must run a relative humidity ($RH$) test using an electronic moisture meter or in-situ probes driven deep into the concrete foundation.
If moisture levels exceed safe industry standards, the slab must be completely sealed with two coats of an epoxy liquid moisture barrier. This specialised barrier stops rising water vapour from touching the timber, keeping your planks flat and stable for decades.
Pitfall 3: Perimeter Suffocation – Eliminating the Essential Expansion Gap
Timber is a dynamic, living material that requires physical space to breathe. As regional humidity rises and falls throughout the year, an entire floor layout will expand and contract across its total width by several millimetres.
A common and highly destructive mistake made during DIY renovations or rushed commercial builds is installing timber planks completely flush against solid walls, structural pillars, door frames, or kitchen cabinetry.
When summer humidity arrives, the expanding timber immediately runs out of physical clearance. With nowhere left to move horizontally, the intense pressure forces the centre of the floor to buckle violently upward, shearing hidden metal fasteners and warping the boards out of alignment.
The Professional Fix
Every master-grade hardwood flooring wood flooring manual mandates leaving a uniform 10mm to 12mm open expansion gap around the entire outer perimeter of every room. This essential gap is completely hidden from view beneath your perimeter skirting boards or a colour-matched timber scotia trim, allowing the floor to shift and breathe silently across the changing seasons.
Pitfall 4: Subfloor Unevenness and the Creaking Symphony
Have you ever had to walk across a friend’s newly renovated timber floor and heard an annoying chorus of squeaks, pops and creaks with each step? The distracting noise is rarely due to the wood itself. It’s not. It’s a direct acoustic outcome of not preparing the subfloor properly with levelling.
When old carpets or tiles are stripped away, the sub-base beneath them often features structural dips, high spots, and old adhesive ridges. If a contractor tries to save time by installing a new hardwood floor system directly over a bumpy base that deviates by more than 2mm over a 2-meter radius, the timber planks are forced to bridge across those hollow valleys.
Every time a family member walks over those hidden hollow pockets, the unsupported wood boards bend down under their body weight. This constant shifting causes the tongue-and-groove joints to rub hard against each other, generating friction that results in loud, irritating squeaks. Over time, this repetitive bending will crack the interlocking joints, permanently damaging the floor’s structure.
The Professional Fix
Before a single plank is installed, the base floor must be thoroughly checked with a long spirit level or a digital rotating laser. High spots on concrete must be mechanically ground flat using diamond-tipped grinders, while low dips must be filled with a premium self-levelling cement compound to create a flat foundation.
Pitfall 5: Maintenance Madness – Liquid Flooding and Steam Mop Abuse
Finally, the last error takes place after the installation team has packed up their tools and handed over the keys. That’s just part of regular home maintenance, and homeowners regularly ruin their beautiful new investment in the process of trying to keep it clean.
The fastest way to ruin a premium real wood floor is using a traditional, soaking-wet string mop or a modern steam mop. Steam mops work by forcing superheated moisture deep into surfaces under pressure.
When applied to a real wood floor, that hot moisture bypasses the surface lacquer, driving straight down into the raw tongue-and-groove joints. This process cooks the natural wood fibres, breaks down your structural polyurethane adhesives, and causes the wood edges to permanently swell and split.
The Professional Fix
Real wood requires a dry or damp cleaning approach. Throw away the heavy water buckets and steam machines. Instead, invest in a specialised microfiber spray mop that applies a fine, controlled mist of pH-neutral wood cleaner across the planks.
When shopping for the best floor mop for hardwood floors, opt for a lightweight model with a soft microfibre pad that can be machine-washed. This system gets rid of everyday dirt, pet hair and grime without marring your protective topcoat or bringing moisture damage, so your floor looks rich and polished for generations.
Honouring the Real Material
Avoiding these common flooring mistakes comes down to showing proper respect for the natural properties of authentic timber. Real wood is an organic asset that reacts to its environment, not a static sheet of synthetic plastic.
These include properly acclimatising your materials on-site, running technical moisture tests on your concrete foundation, leaving open perimeter expansion gaps and sticking to a gentle, low-moisture cleaning routine. In doing so, you protect your home’s foundation. Taking the time, patience and technical precision in the preparation phase will ensure that your premium timber floors remain straight, true and stunning for decades to come.
1. Can I install solid hardwood floors directly in my home bathroom or laundry room?
No, putting real solid wood floor in high moisture areas like bathrooms or laundries that aren’t ventilated is a big risk and will void your manufacturer’s warranty. But the constant presence of pooling water, high levels of steam and wet towels easily compromise the wood’s protective finish, allowing moisture to penetrate deep into the planks, resulting in severe warping, structural rot and mould growth. Select water-resistant porcelain tiles or high-end luxury vinyl options for wet areas.
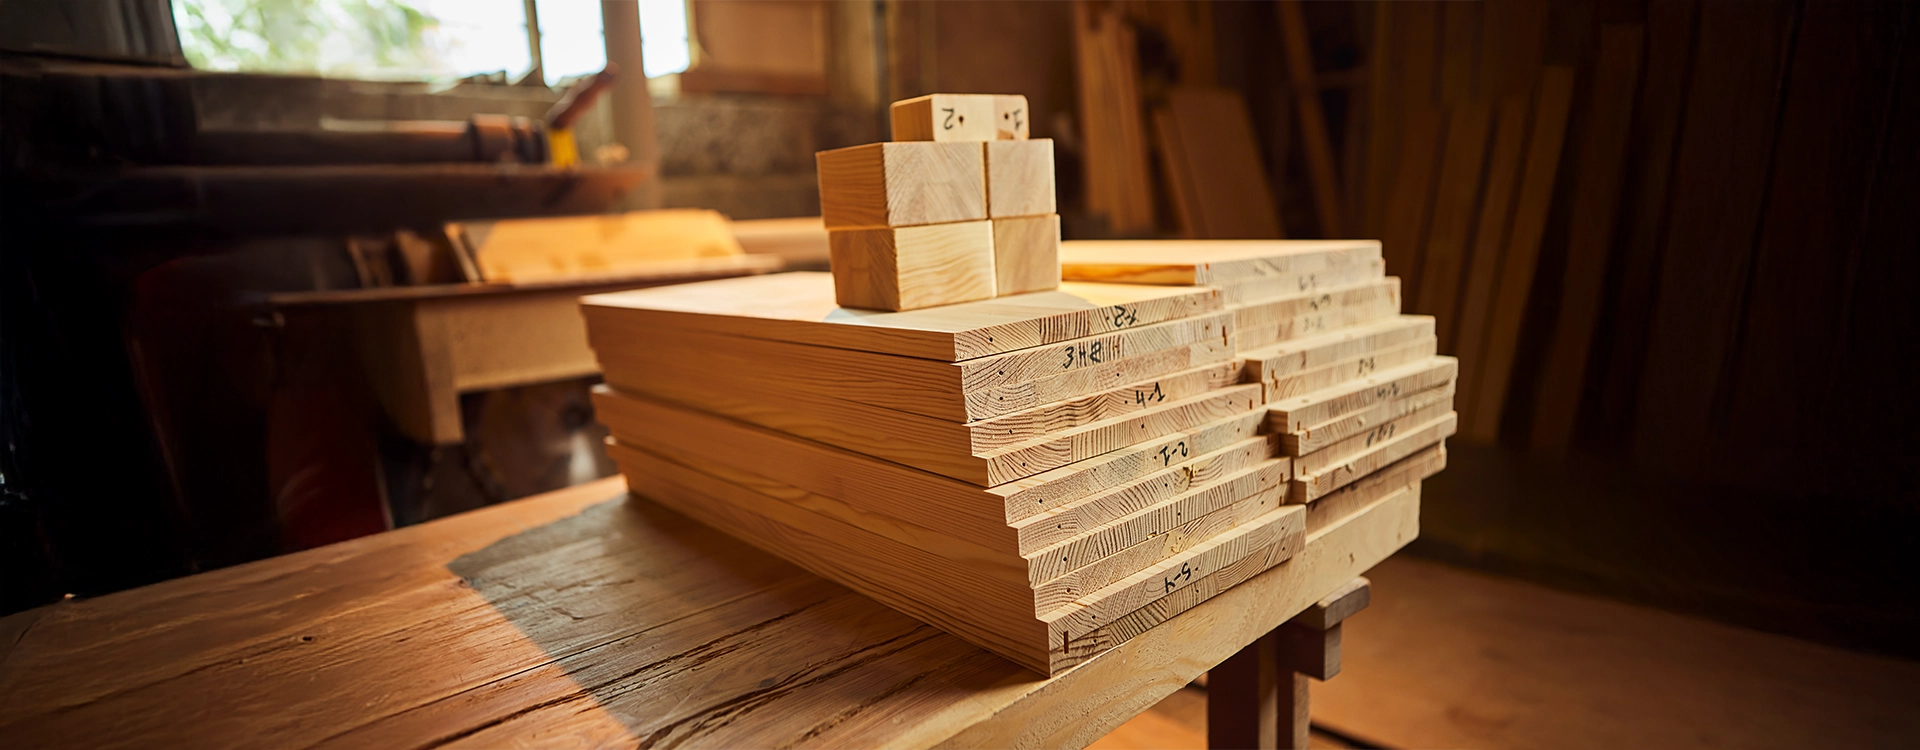
2. What is the difference between visual timber grades like Select Grade and Feature Grade?
Timber grading is only about the natural marks you can see on the face of the board, not its strength. Select Grade has a very refined, uniform surface with clean grain lines and very few tiny knots. It is a great match for minimalist or formal architectural styles. Feature Grade celebrates the natural character of the tree, with bold colour variations, large knots and natural insect trails, at a more affordable price point.
3. How do I protect my premium wood flooring from being scratched by heavy furniture?
Every moving object in your home has the potential to scratch a clear floor finish. To protect your investment, attach heavy-duty, commercial-grade felt pads beneath all chair legs, tables, and couch bases, replacing them every 12 months as they wear down. Additionally, place high-quality walk-off mats at every external entrance to catch outdoor sand and sharp garden grit before it can be tracked inside on shoes.
4. Why are gaps suddenly opening up between my timber floorboards during winter?
Minor, uniform gapping during dry winter months is a completely natural behaviour for real timber floors, not an installation failure. When indoor heating systems run consistently during winter, the indoor air dries out, causing the wood planks to lose moisture and shrink slightly. Once the more humid spring and summer seasons return, the wood will absorb atmospheric moisture, and these temporary gaps will naturally close back up.
5. Is it completely necessary to lift my existing skirting boards before installing new timber flooring?
While local building codes don’t legally require it, it is an efficient choice that delivers a much cleaner, higher-end finish. Removing the skirting allows your installation team to install the new flooring beneath it and leave the required expansion gap directly against the wall studs. If you choose to leave your existing skirting boards in place, the mandatory expansion gap must be left in front of them, forcing you to install a secondary scotia trim over the edge to hide the gap.