

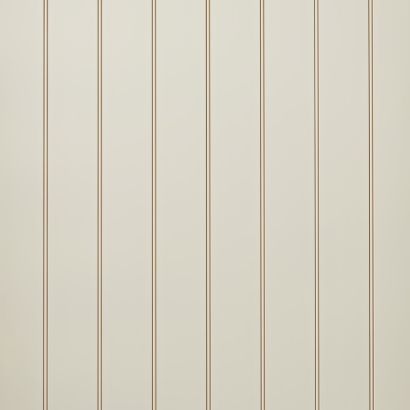
Designer Groove Regency Ultra MDF Panels
$69.00 – $119.00
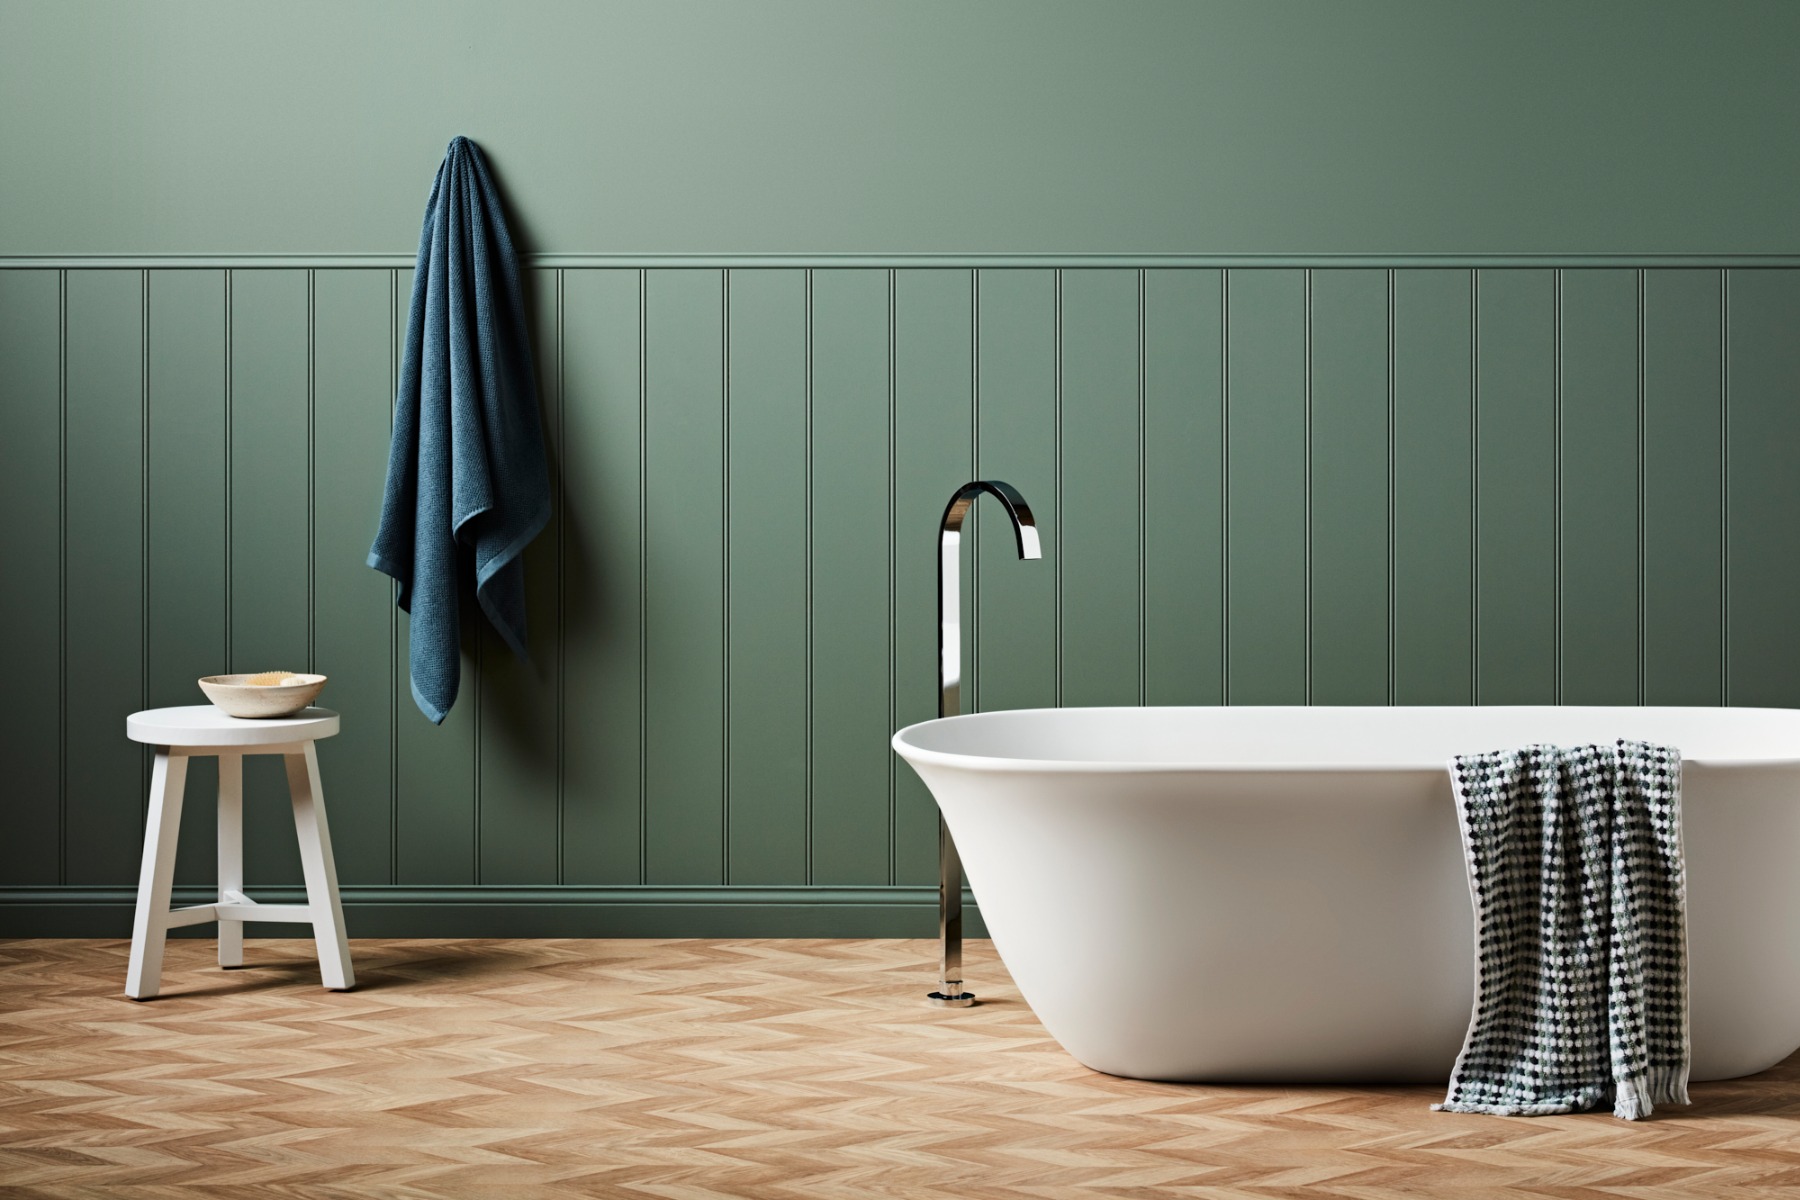
Decorative wall panelling has had a real resurgence over the last few years, and MDF is a big part of why. It used to be that if you wanted a grooved, panelled look on a wall or ceiling, you were either paying for custom joinery or spending a weekend with a router and a lot of patience. Pre-primed MDF panels changed that, the groove pattern is milled at the factory, the surface arrives primed and ready for paint, and you’re installing a finished-looking feature wall in an afternoon rather than a fortnight.
At Melbourne Timber Supplies, our MDF Pre Primed Panel range covers two distinct groove styles, Regency and VJ, both built on an ultra moisture-resistant, formaldehyde-free MDF core. That last point matters more than it might sound. Standard MDF isn’t a great candidate for bathrooms, laundries, or anywhere it might cop moisture or humidity over time, because the fibreboard core will swell and break down. This range is manufactured specifically to handle that kind of environment, which is why we’re comfortable recommending it for wet areas as well as the more obvious dry-area applications like living rooms, hallways, and bedrooms.
We talk about the benefits of pre-priming across a lot of our timber range, but with decorative MDF panelling it’s arguably even more important. These panels have detailed groove profiles milled into the face — sharp recesses and edges that are genuinely difficult to prime evenly once they’re already installed on a wall. Get into a corner with a brush or a roller after the fact and you’ll either miss the base of the grooves entirely or end up with paint pooling unevenly along the profile lines. Priming at the factory, before the groove detail is exposed to site handling, means every recess gets even, consistent coverage. All you’re doing on site is your topcoat.
It also means less mess and fewer delays. There’s no need to seal raw MDF edges before painting, no dust from on-site sanding, and no waiting on a base coat to cure before your painter can get started with the actual finish colour. For a lot of builders and renovators, that’s a full day of prep work removed from the schedule.
The Regency profile has a more refined, formal groove pattern, the kind of detailing that reads as classic panelled wainscoting or a feature wall with genuine architectural presence. It suits period-style renovations, formal living and dining spaces, and any project where the brief is elegance rather than boldness. It’s milled at 9mm thickness across all three sheet lengths we stock.
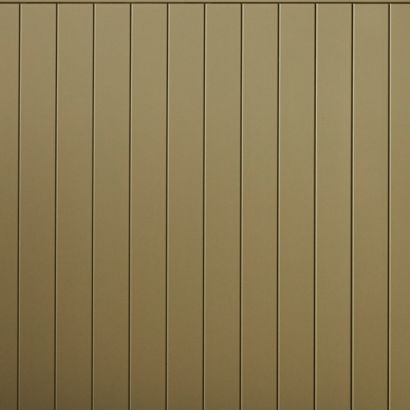
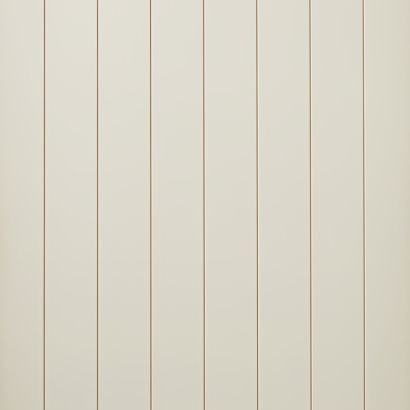
The VJ profiles take their cue from traditional V-jointed timber board panelling, the same look you’d get from individual tongue-and-groove boards, but delivered as a single sheet rather than dozens of separate lengths that all need individual fixing and aligning. We stock two versions of this groove spacing: VJ100, which has a tighter, more classic V-joint spacing, and VJ150, which uses a wider groove spacing for a bolder, more contemporary read. Both are milled at 19mm thickness. We’ve covered each of these profiles in more detail further down, including which projects tend to suit each one.
Choosing between Regency and VJ really comes down to the character of the room. Regency tends to suit heritage homes, formal spaces, and anywhere a decorative, moulded look is wanted. VJ suits almost everything else, hallways, bedrooms, feature walls in contemporary builds, ceiling linings, and joinery fronts where a linear board look is the goal without the labour of installing individual boards.
All three panel types in this range come in three lengths — 2400mm, 2700mm, and 3000mm, at a consistent 1200mm width. Picking the right length isn’t just about minimising offcuts, though that’s part of it. Ceiling height and wall height should be your starting point: a 2400mm sheet suits standard ceiling heights without a join, while 2700mm and 3000mm give you room on taller walls or where you want a single unbroken sheet running floor to ceiling without a horizontal joint breaking up the groove pattern.
Worth flagging early: 3000mm sheets are an oversized item once packed for freight, which can affect delivery options and lead times depending on where your site is. If you’re specifying 3000mm panels for a job outside our standard delivery radius, get in touch with us before you finalise quantities so we can confirm freight and timing rather than have it become a surprise once the order’s placed.
MDF panels move slightly with changes in humidity, the same as any manufactured board product, so a small expansion gap around the perimeter of each sheet and between sheets where multiple panels are butted together, is worth building into your setout rather than fixing everything hard up tight. Your groove lines should be treated as your fixing reference points where possible, since fixings placed within the recess of a groove are far less visible once the finish coat goes on than fixings placed on a flat face.
Cutting MDF does produce fine dust, so standard dust extraction and a properly fitted mask are worth having on hand regardless of how small the cut list is. Blades should be kept sharp, a dull blade on MDF tends to chip the primed surface along the cut edge, which then needs extra attention with filler and touch-up primer before painting.
We keep consistent stock across both profiles and all three sheet lengths, which matters on panelling jobs where matching sheets need to come from the same batch to avoid subtle colour or surface variation once painted. If you’re planning a full room of panelling, walls, feature sections, or a run of joinery fronts, talk to us about quantities before you order. We’d rather help you get an accurate cut list up front than have you order short and risk a batch mismatch on a top-up order.
One thing worth thinking through before you order is how the panelling will sit against the rest of your fixed detailing, skirting, architraves, door jambs, and any existing cornice. A lot of the callbacks we get on panelling jobs aren’t about the panels themselves, they’re about a mismatch in scale or style between the new panelling and trims that were installed years earlier. If you’re running Regency panelling into a room with plain, modern skirting, it can look like two different design eras have collided rather than a considered renovation. Bringing us a photo of the existing trims, or better yet a sample offcut, before you finalise your profile choice is a small step that saves a much bigger headache once the room is finished and painted.
Colour selection matters just as much as profile choice. Darker, saturated colours tend to make groove detail read more strongly and can make a room feel more enclosed, which works well in a study or a formal dining room but can feel heavy in a smaller hallway. Lighter, more neutral tones let the groove pattern read as texture rather than a dominant design feature, which tends to suit open-plan living spaces and smaller rooms where you don’t want the walls competing with the rest of the room.
Once your panels are up and any fixings, joins, and edges have been filled and sanded back, a quality interior paint suited to MDF substrates will give you the best long-term result. Two coats is generally the minimum for full, even coverage, particularly in and around the groove detail where the primer coat can wear thinner during handling and installation. For wet areas specifically, it’s worth using a paint rated for bathroom or high-moisture environments rather than a standard interior finish, even though the board itself is built to handle moisture, the paint film is still your first line of defence against everyday splashes and condensation.
Ongoing maintenance is minimal compared to a lot of other wall finishes. A wipe-down with a damp cloth is generally all that’s needed, and touch-ups are straightforward since you’re working with a flat, primed surface rather than a textured or heavily patterned wallpaper that’s difficult to match years down the track.